
Photography Lessons from Sony Malaysia Camping Workshop
Recently I picked up photography as a hobby. As a beginner, I always look forward to learn more about how to take better photos. YouTube and Google have been my good friends.
Early August of 2022, I saw an announcement for a photography camp/workshop conducted by Sony posted on a local camera shop, N4's Facebook page. This was an opportunity presenting itself, I thought. I hit them up and had myself registered. The process was manual, via messaging app WhatsApp, but it was smooth and painless. The staff of the shop were helpful and responsive.
From 26th to 27th August 2022, along with 40 other photography enthusiasts, I camped in a private camping spot in Cameron Highlands, Pahang, Malaysia.
This was my first ever photography workshop of any kind, and I was ready to learn from everyone! Here are some of the lessons I learnt during my stay.
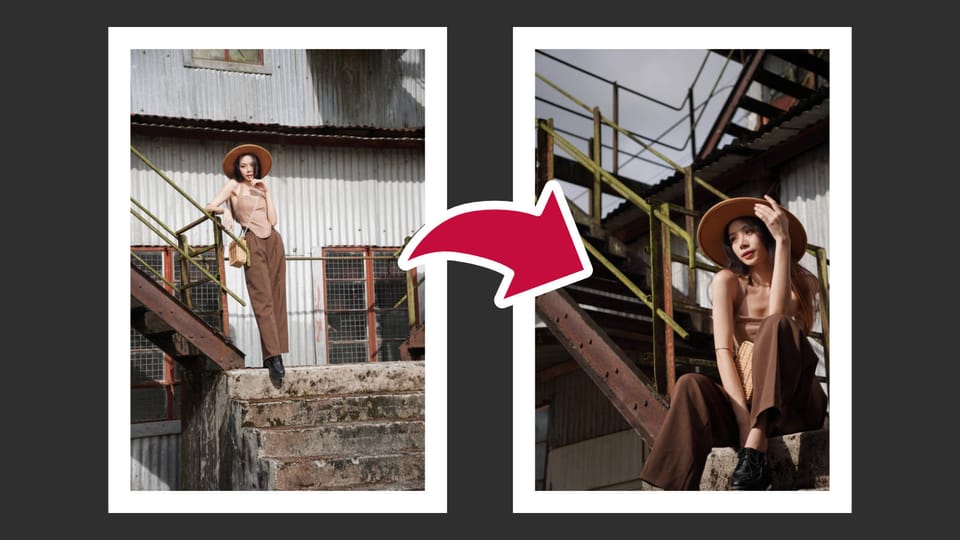
Making use of the sun's harsh lighting
This is perhaps one of the biggest lessons from my trip to the lovely highlands. My skill just went from 1 to 11.
The organiser has hired a few models to be our subject throughout the camp. We were then free to take our time to take our photos. I was taking photos of the model, Mizii, quite mindlessly. Here's one of my takes:
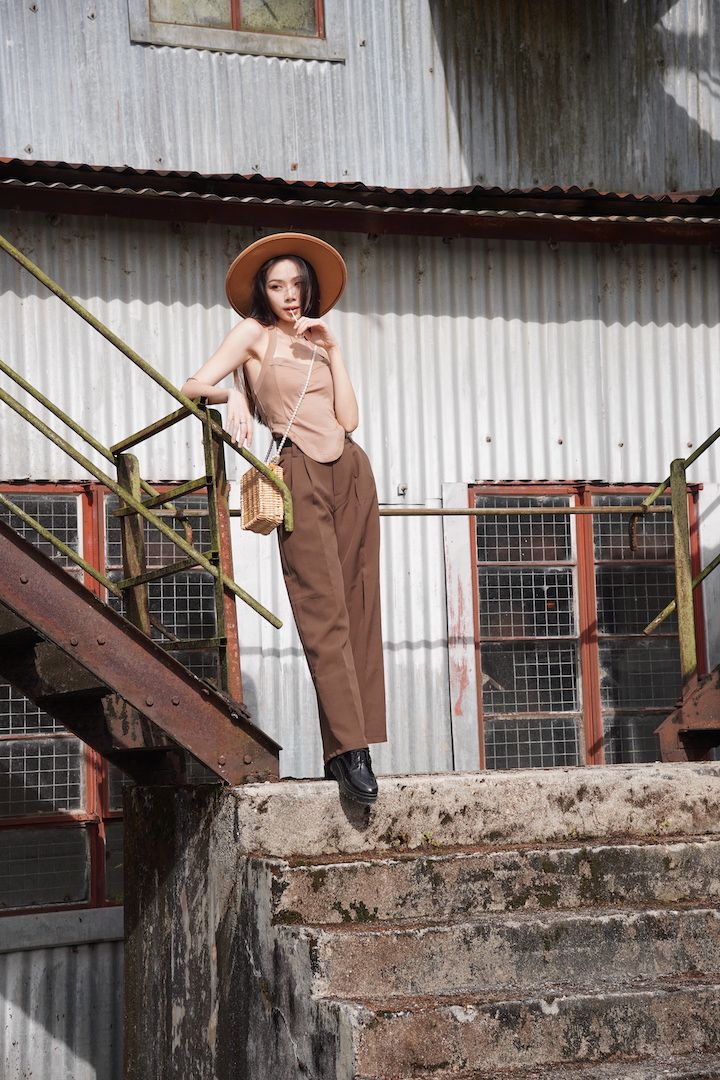
And here's my shot after being instructed by a Sony Alpha guru, Micheal (@micheal_chee).
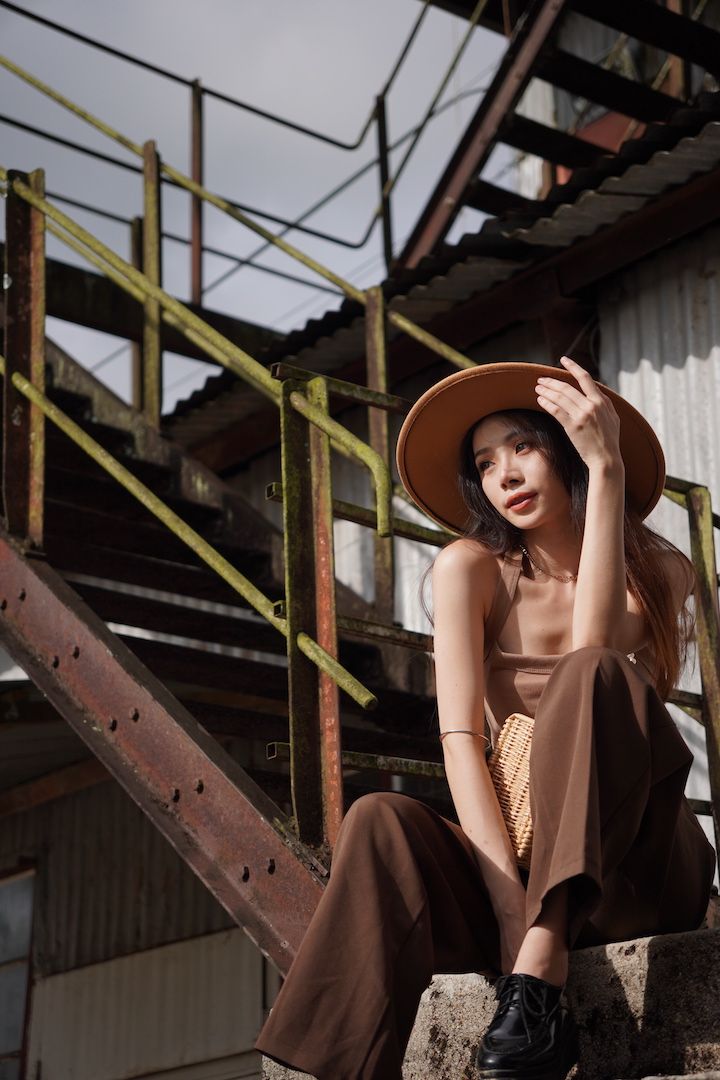
I know you can see the difference, it's very clear.
The first photo was washed out and uninteresting. Second one is tastefully contrasted and had a refreshing perspective. Now, note that even without the difference in perspective, the second settings would still be miles better than the first one.
So what was the difference?
In the first image, I was using aperture priority mode. The idea was I wanted as little control as I can, I was scared of fiddling with anything other than aperture. I probably have set aperture to f/5 because I wanted to capture the background and most importantly compensate the exposure as it was in harsh daylight environment. Of which didn't do a very good job anyways, because the exposure value (EV) on the photo was +1/3. lol
On the second image, I was instructed to use manual mode and to open up the aperture (lowering f-stop) and increase shutter speed to 1/4000. Oh and drop EV to -7/10. This was such a revelation to me!
I was still able to capture the sweet bokeh in highly lit setting, yet that could be compensated with speeding up the shutter. Mind blown. Thank you Micheal!
I have learnt about exposure triangle beforehand, but never even thought about applying them on the field. This was a pure example of you can only learn so much from learning theory on the internet and YouTube. Also a proof of we learn the faster by learning from those who have prior experience.
Back light halo effect
This was something that I learnt by observing my what others did. When the crew was wrapping up the photo setting in the old tea factory, someone commented on how the other member is standing at a perfectly right spot for good photo. He was standing in between 2 RGB light sources and was facing another light pointing at him from the back of the set.
The photographer took a shot with the subject covering the back light source. I observed and then mimicked the photographer to attain similar results. Here's the shot:
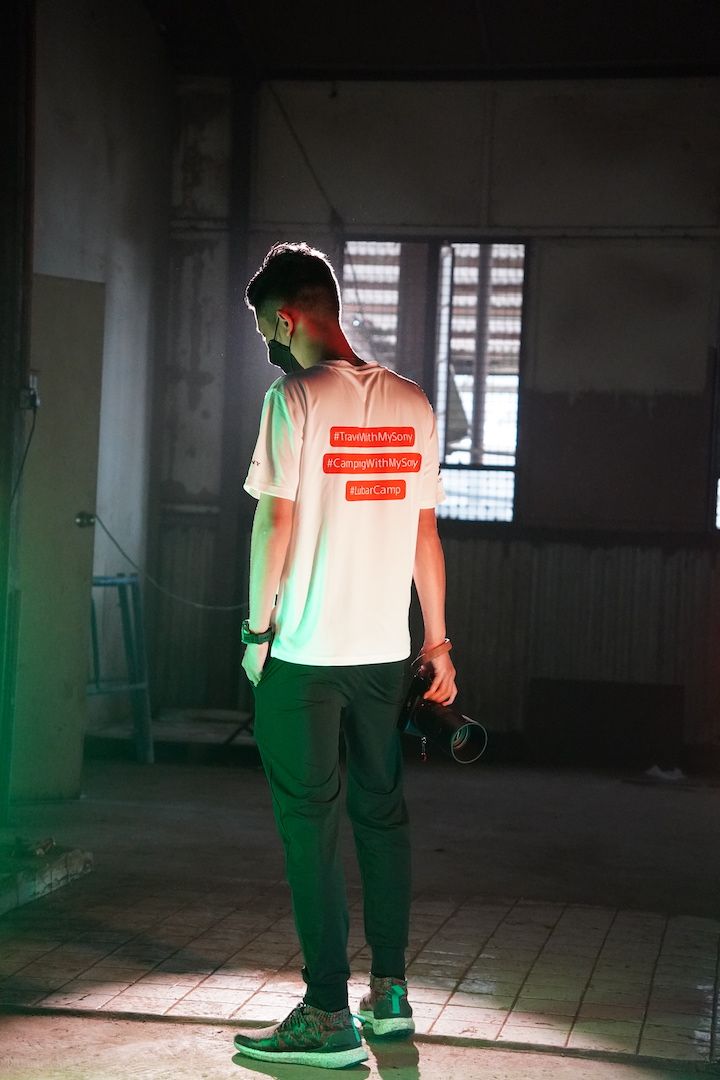
Look the the head of this guy, that rim lighting around his hair is so satisfying. I am happy I was at the scene to learn from the pros!
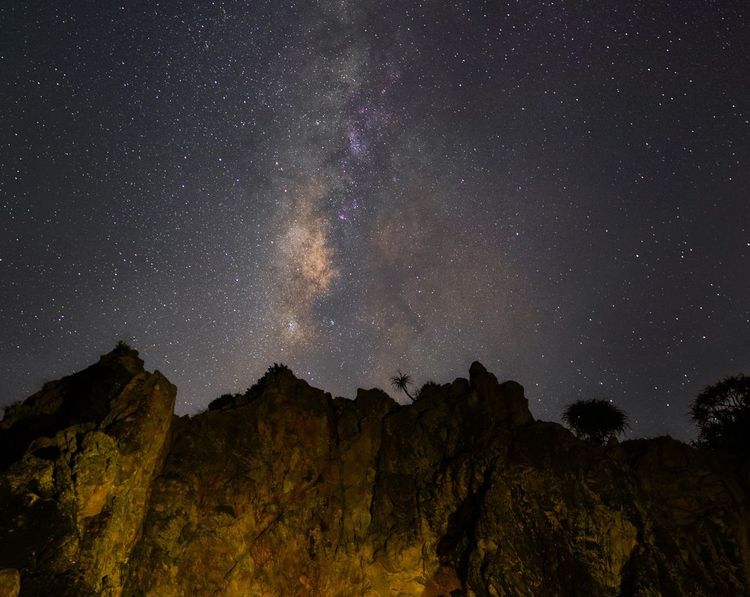
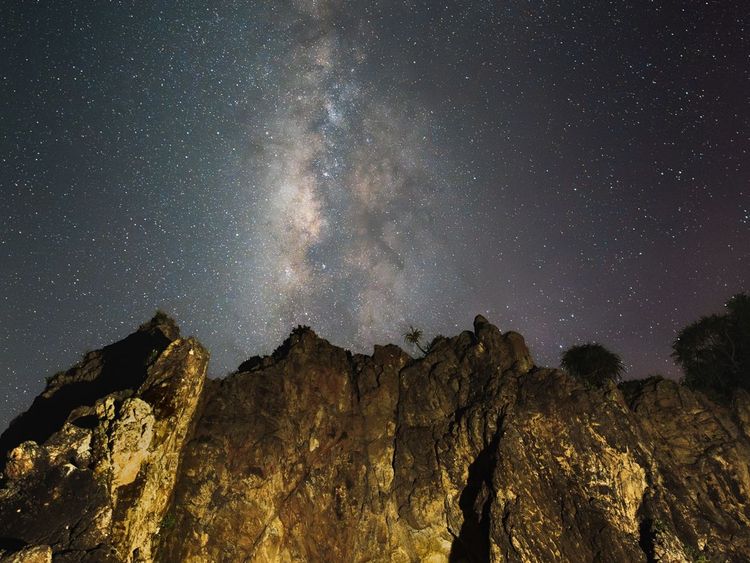
Night photography (Steel Wool)
Now this was a fun time. Night photography! It was my first ever proper night session too. I was very excited. The organisers had hired a fire dancer to perform for us.
There were few performances, fire dancing, fire breathing and finally the highlight of the night, fiery steel wool spinning.
Unfortunately, when I arrived at the venue, the instructor have started the opening speech and I have just missed the recommended settings for the session. Classic me. So during the session, I learnt from those I could speak to that was around me. There was Faiz and this other girl on my right who took really great photo.
My takeaway from the night is that there are many settings I could use to attain different results. Night photography is a totally different game than daylight photography. For the lack of light, we'll need to provide light to our camera by:
- opening up aperture
- prolonging shutter speed – the side effect of this is a little shake of camera will make photo blurry. It's good for light trail effect, but we'll need tripods to not blur out static objects, which I had
- increasing ISO – higher ISO will make photos grainy
It's clear that it's a balancing act of the exposure is crucial. Let me show you some of the settings and the resulting photos.

This photo was taken with way too long shutter speed (30 seconds) and way to wide aperture of f/2.8, the widest my lens could go.
I do think we have a cool light trail, although everything was else was also too bright for my liking. Looking back, stopping down the aperture anywhere between f/8 to f/11 would probably gave darker surrounding, giving this photo more focus on the light trail. Well, at least I learnt something :)
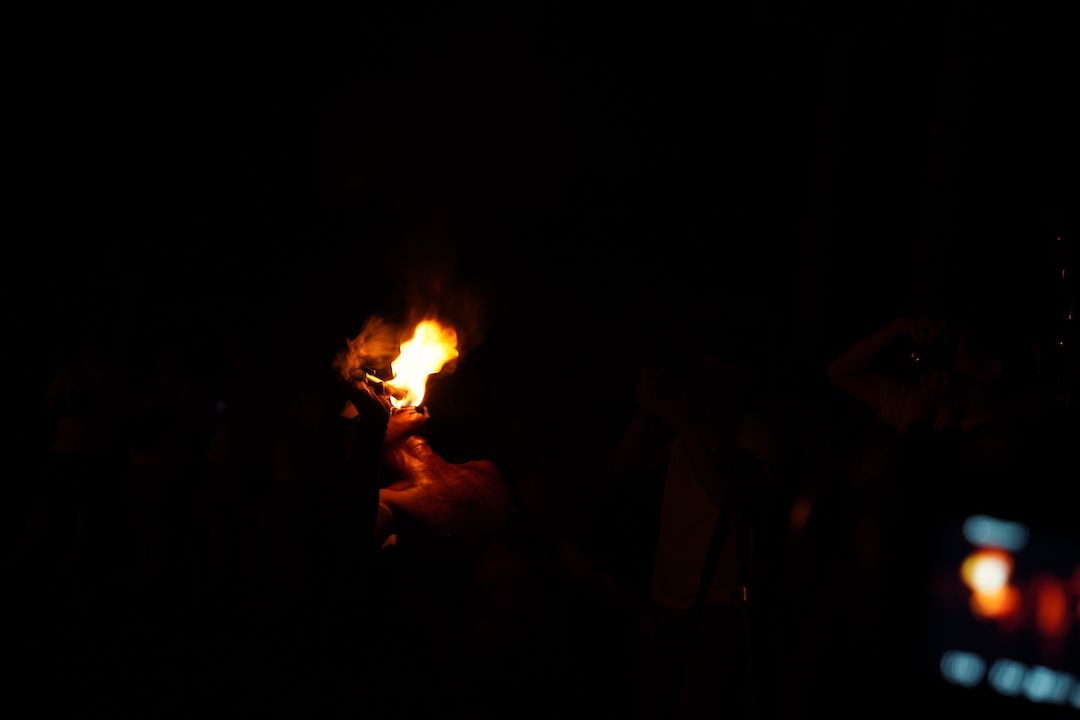
When I pushed the shutter speed to 1/10, which is quite fast for low light condition, the subject in the image appears more in-focus and sharper.
On the other hand, only the brightest part of the photograph is captured. Everything else was just blacked out. Perfect for dramatic fire lighting effect and sends viewers eye towards the fire-dancer.

Finally, the best shot of the night was the steel wool performance. I saw this girl on my right side took really great photo of the performance and I just had to ask for her settings.
What she had done was narrowing down the aperture to let lesser light in and set the shutter speed to 3 seconds, opening the shutter long for not too long. I kept the ISO at 100, and the result was nice light trails with smaller light trails from the sparks. It is beautiful. Really thankful to her!
And there you go, those are my major takeaway from my 2 days 1 night stay at Sony Photography Camp at Zakka Camp, Cameron Highlands. I learnt a whole lot of lessons and met so many like-minded friends. It's so awesome to be able to do that and this has lit my passion a little further.
Here's the photo album for more pictures (I'll post them soon. Do subscribe to my newsletter – edit: I have posted, click the card below. Still, do subscribe)
 Putra Isyraq
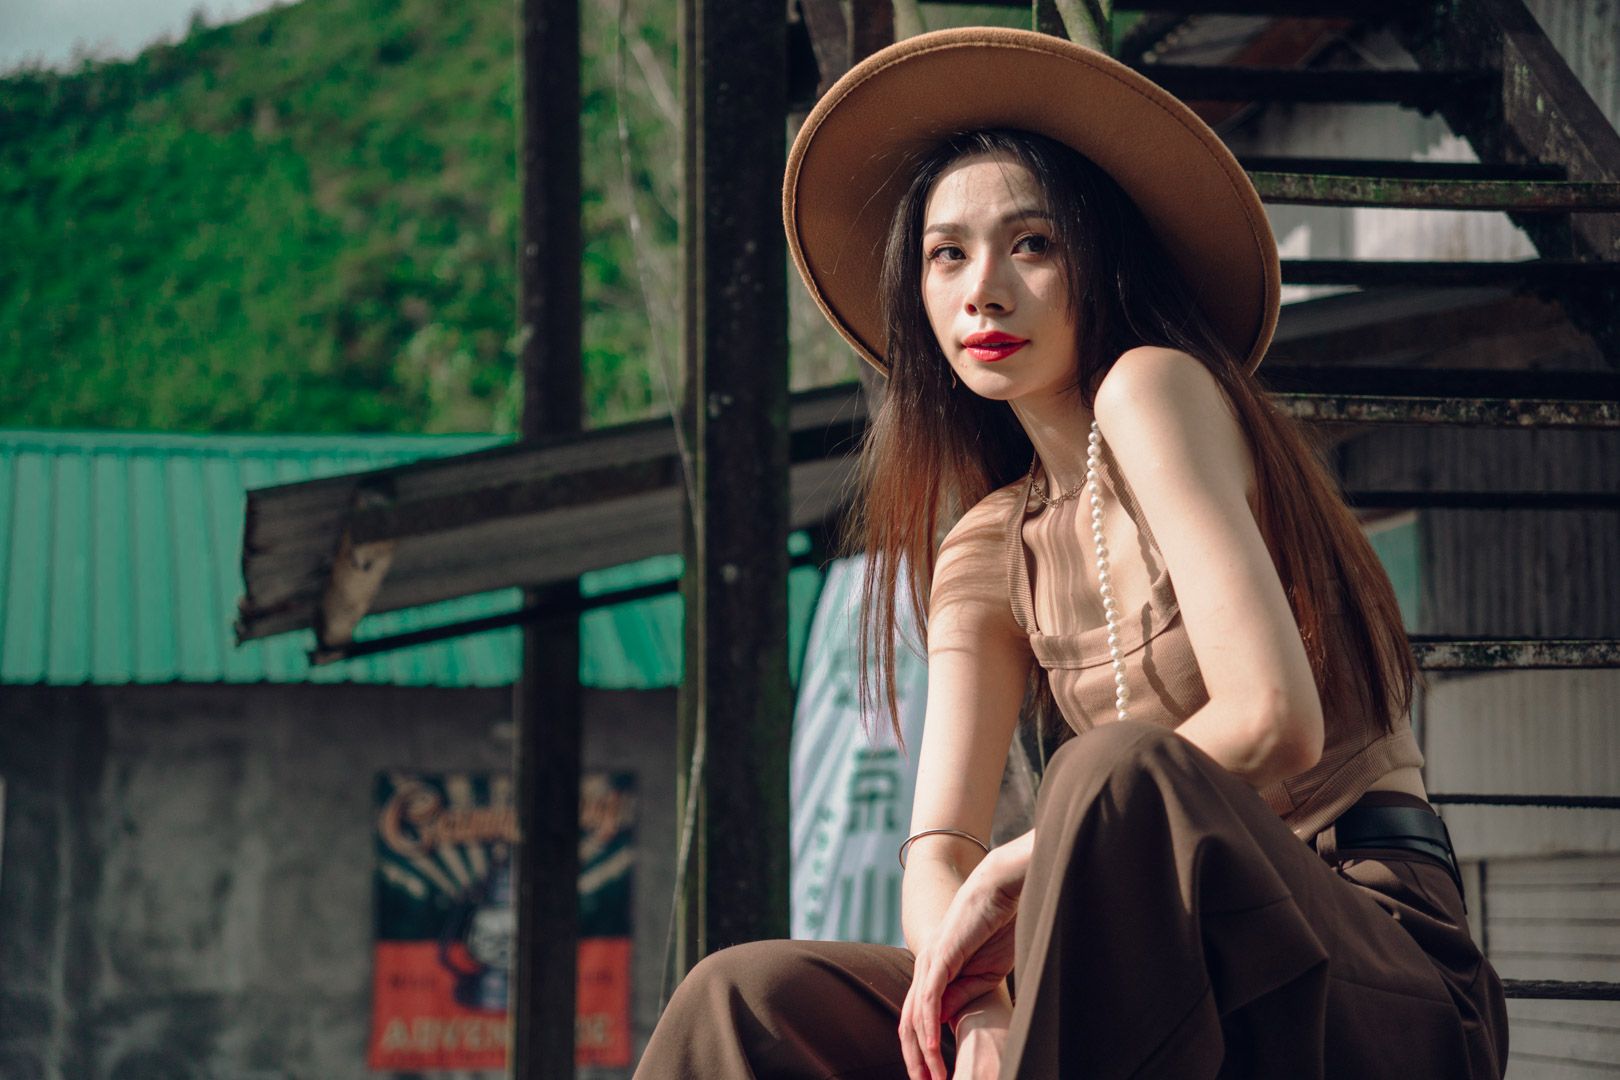
Follow me on Instagram, @putraisyraq for more casual photo posts.
Till then.

Member discussion