
Lightroom Colour Styling Hack
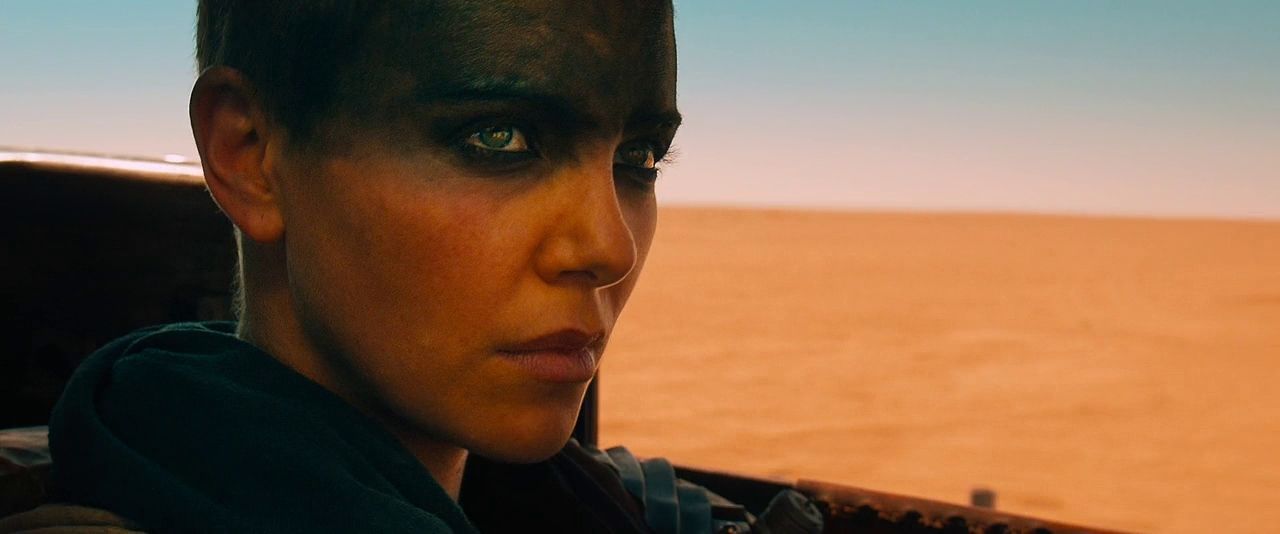
One look that I've been trying to achieve is the contrasting complementary colours of orange and teal (or cyan) look. It is a popular cinematic colour style, often seen in action movies such as Mad Max.
I've been learning Lightroom editing for a while now and have learnt that there are many ways to edit colours of a photo in Lightroom. We have the famous Tone Curve, HSL/Color and Color Grading panels that many knows and uses all the time. However there's one more tool that is often missed, tucked all the way to the bottom of the panels, Calibration tool.
What is Calibration tool?
To put it simply, it is a tool for colour correcting and styling. It's different from the HSL/Color panel where HSL targets to change specific colour's hue, Calibration changes the colours of red, green and blue (RGB) more globally.
The image below is the comparison of the difference between the two panels.
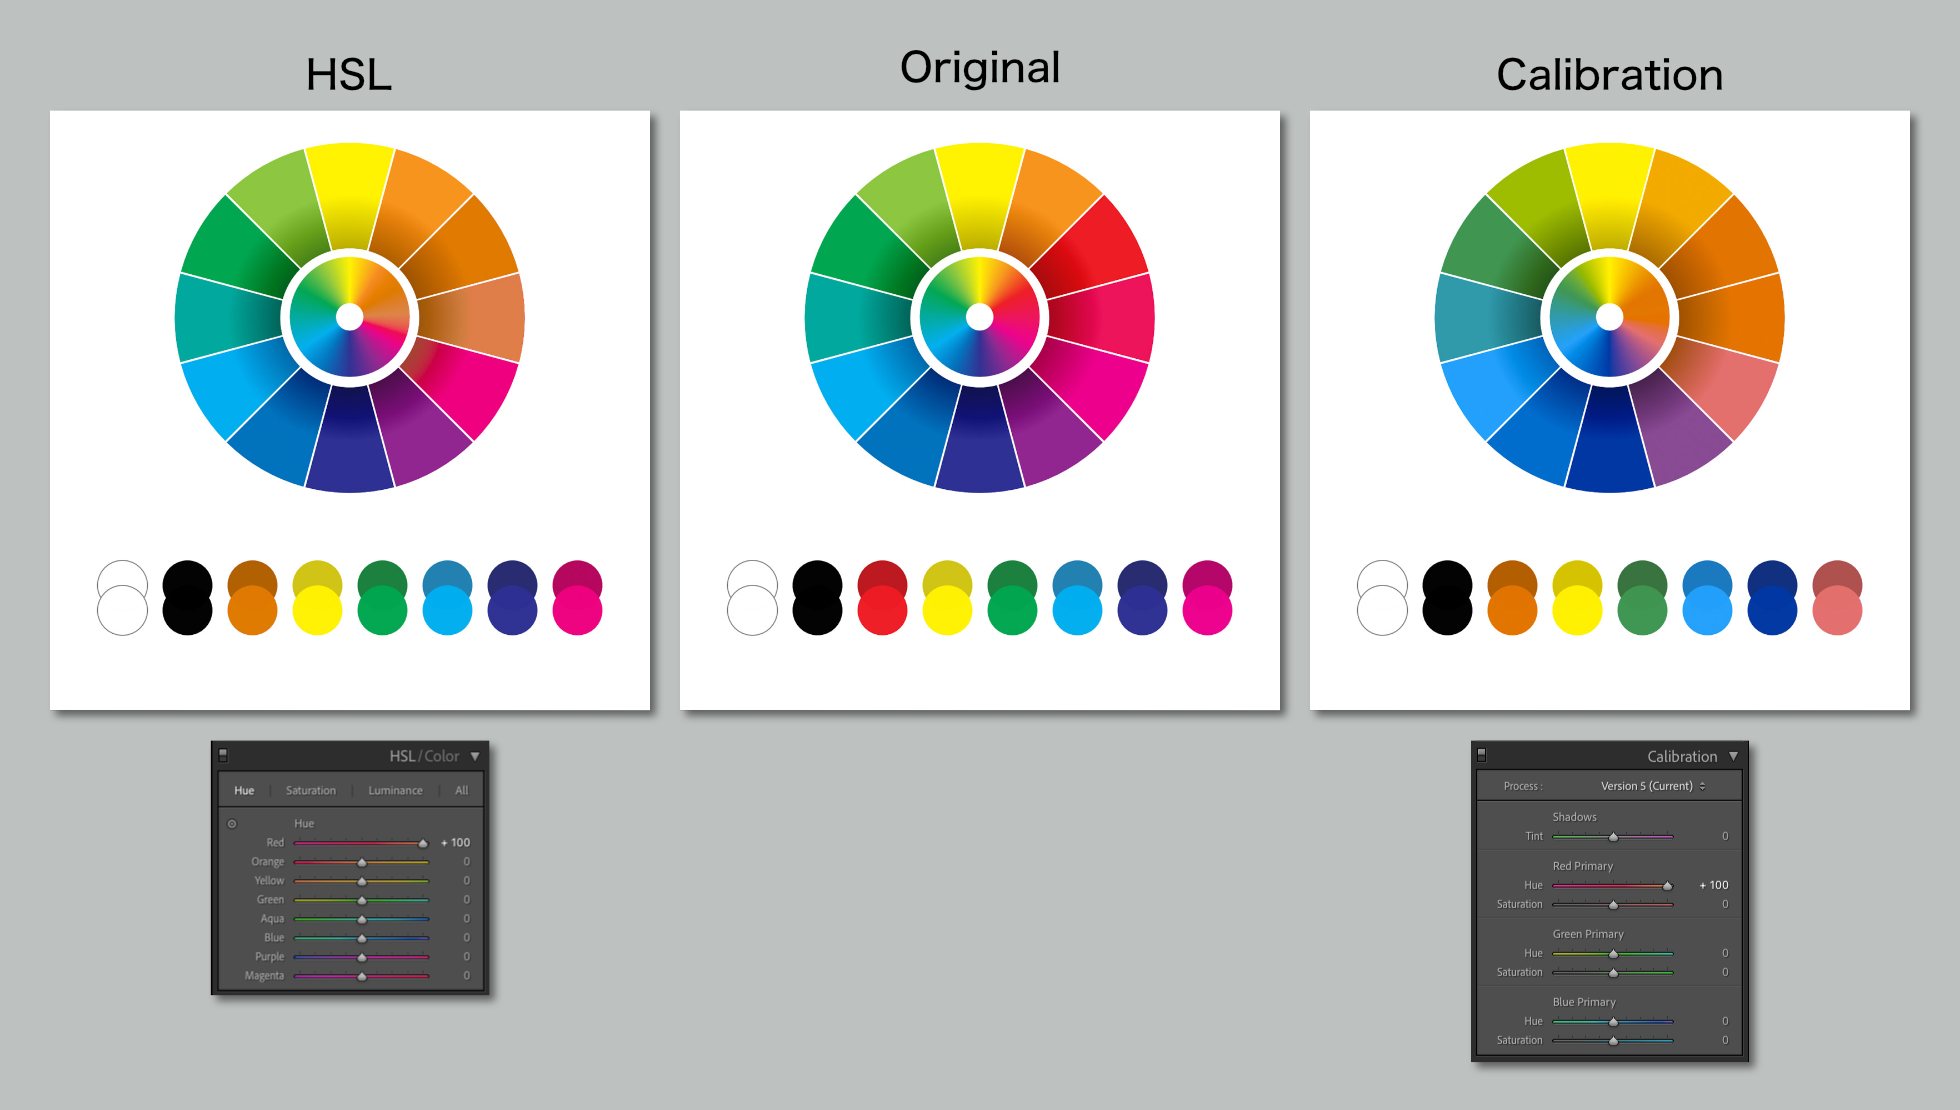
It may be a little hard to see, HSL edit only affect red and adjacent colours. Whereas calibration edit affect almost all the colours on the wheel, albeit the green and blue sections were affected by just a tinge.
Oh, see the colour wheels above? I made it. It took me hours of reading, watching youtube and creating the wheel. I really got into rabbit hole with this one. This could be a whole article in and of itself.
So what's the hack?
To be really honest, it's probably barely a hack to those who have been editing for a while. But to me this has been a revolution, I have been tinkering with HSL and colour grading tool to get the look I've been trying to achieve, and none has been as easy as calibration tool.
By shifting the blue slider to the left, the blue hue changes to teal or cyan and the green become more yellow or orange. And that's already 80% of the task done. 🤯
The other 20% is the tweaks needed to create my perfect teal-orange cinematic look, and then save it as a preset.
Using the colour wheel, I was able to see all of the colours and manipulate the whole colour scheme to my liking. For this colour scheme I set:
- Red Hue to +45 and Saturation to -3
- Blue Hue to -75 and Saturation to +15
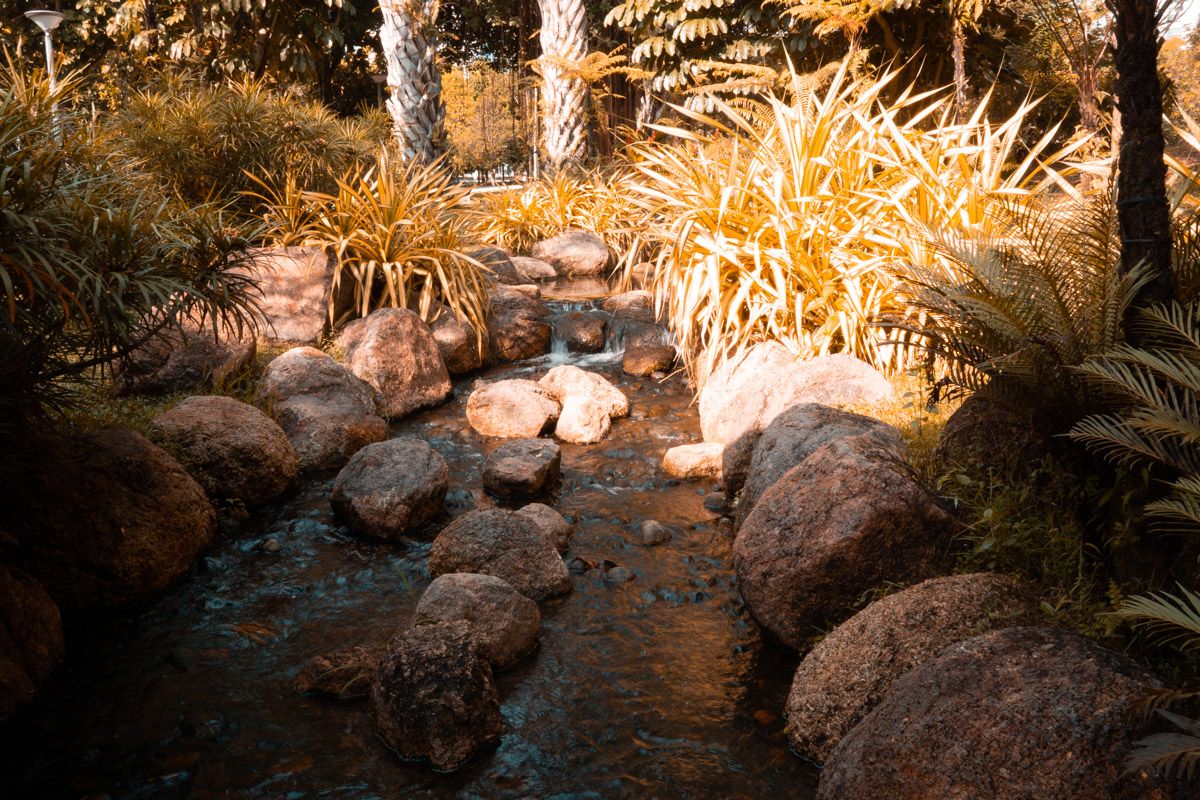
And I end up with this. I love it.
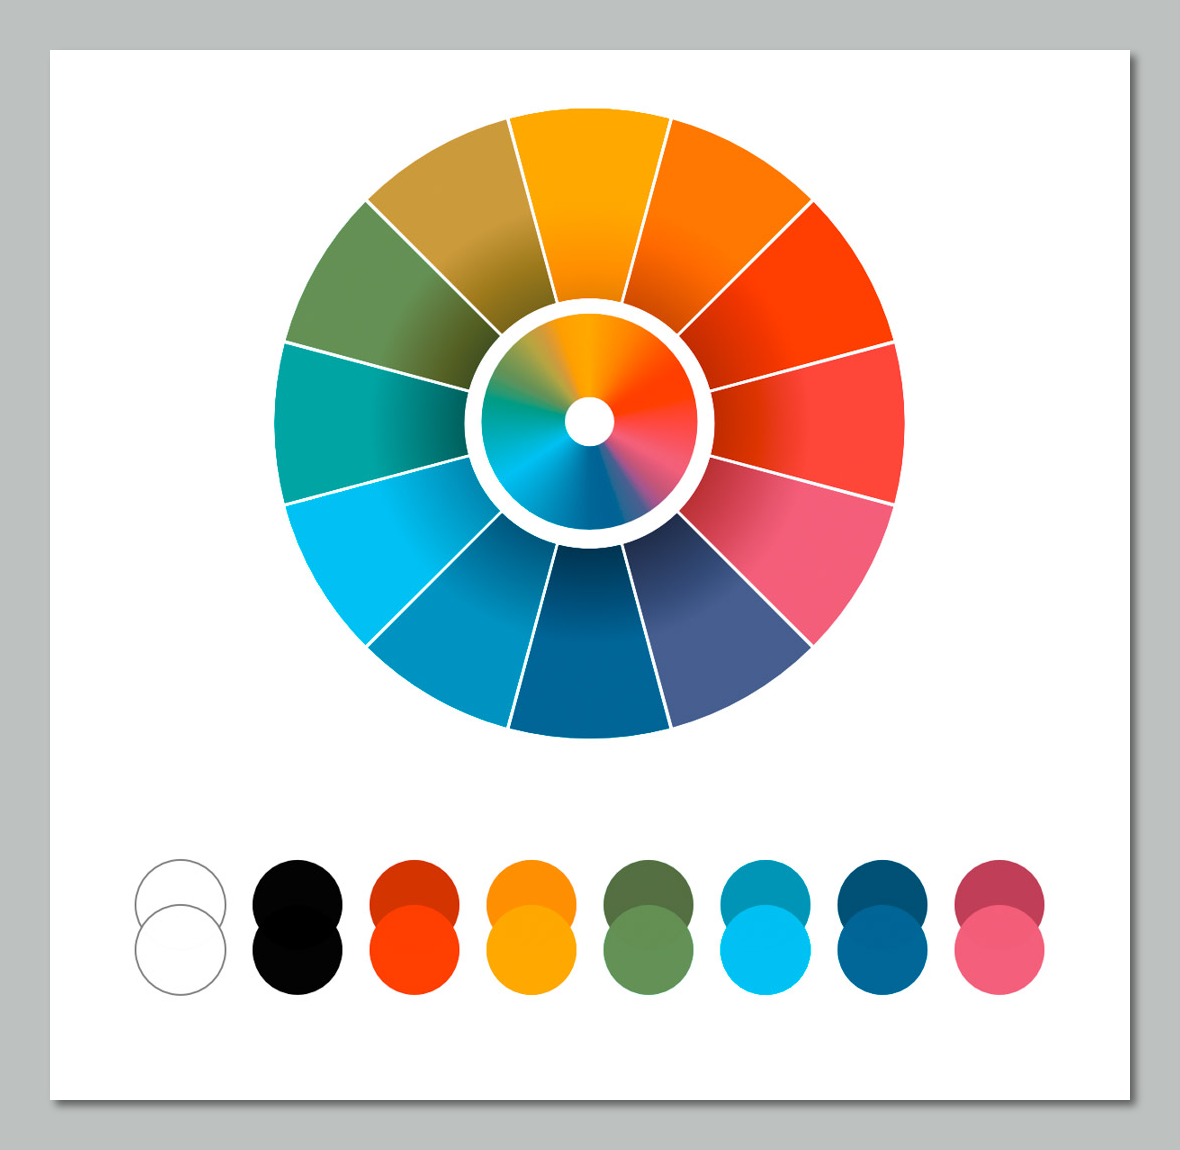
You can see that the wheel is kind of splitting to two similar hues, orange/red and teal/blue. When applying this preset, I still need to tweak individual colours to further homogenise the colours. For example turn red hue to orange, blue to teal, and maybe desaturate green and purple.
Side note: I really like to play around with the colour wheel to find a colour scheme. Seeing all the colours give me a sense of what the overall look when applied to photos.
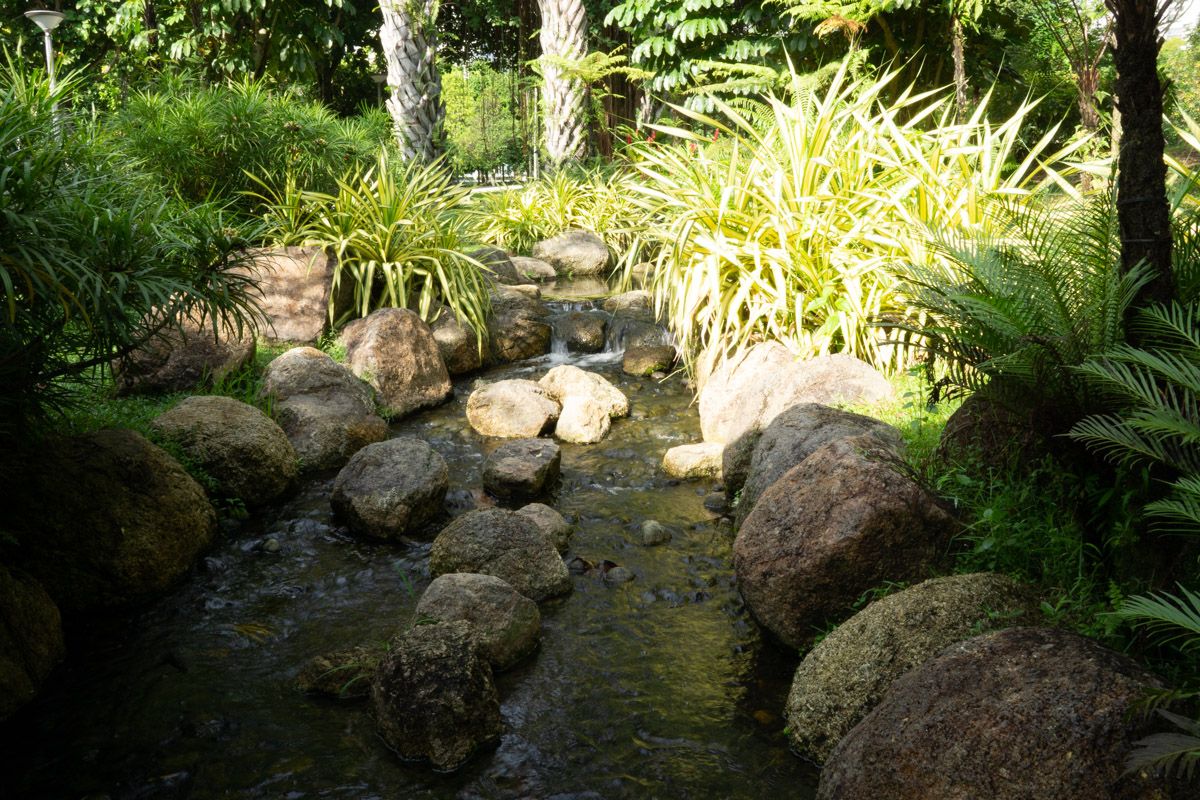
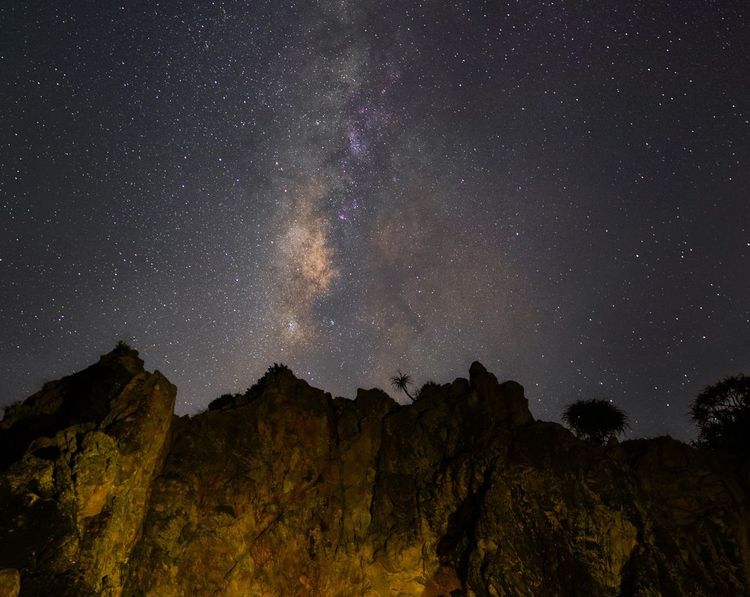
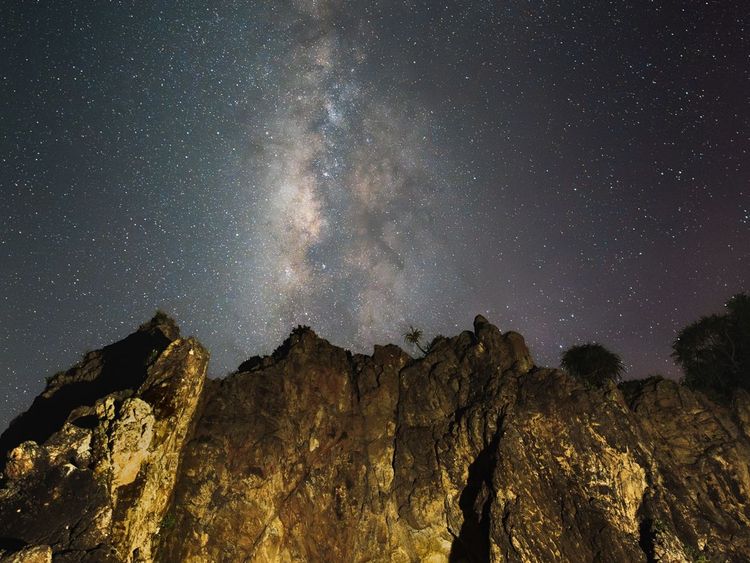
Few examples
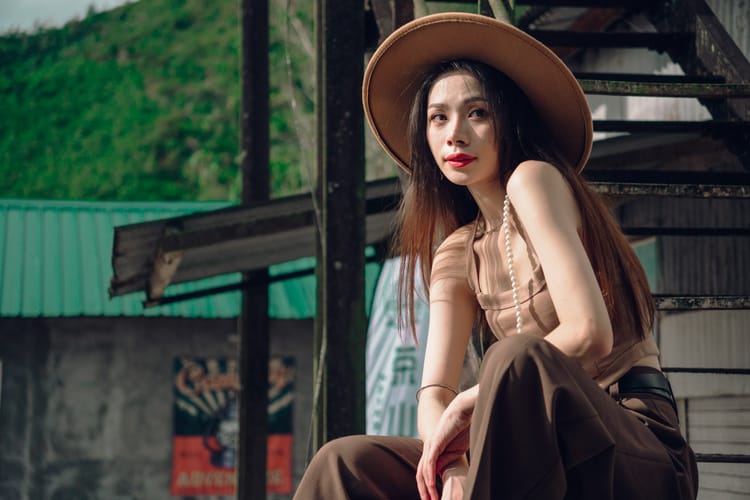
Here's a couple of my edited images for your viewing pleasure.
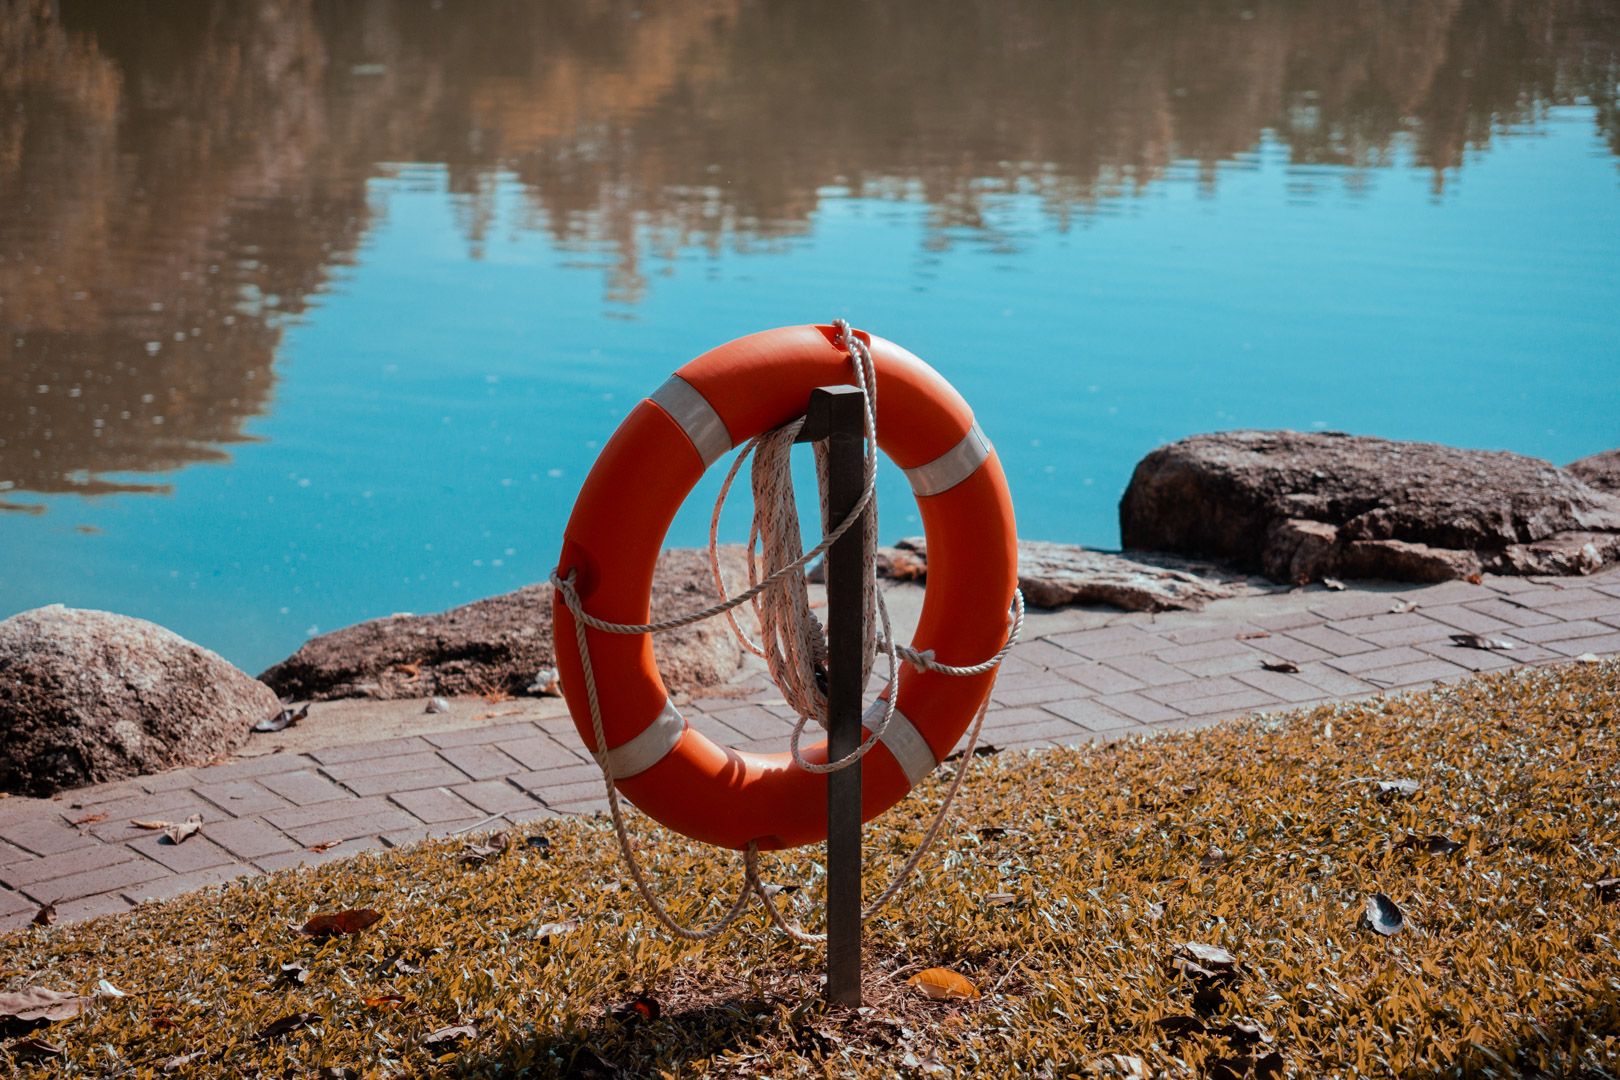
And more in the gallery!
 Putra Isyraq
Caveats?
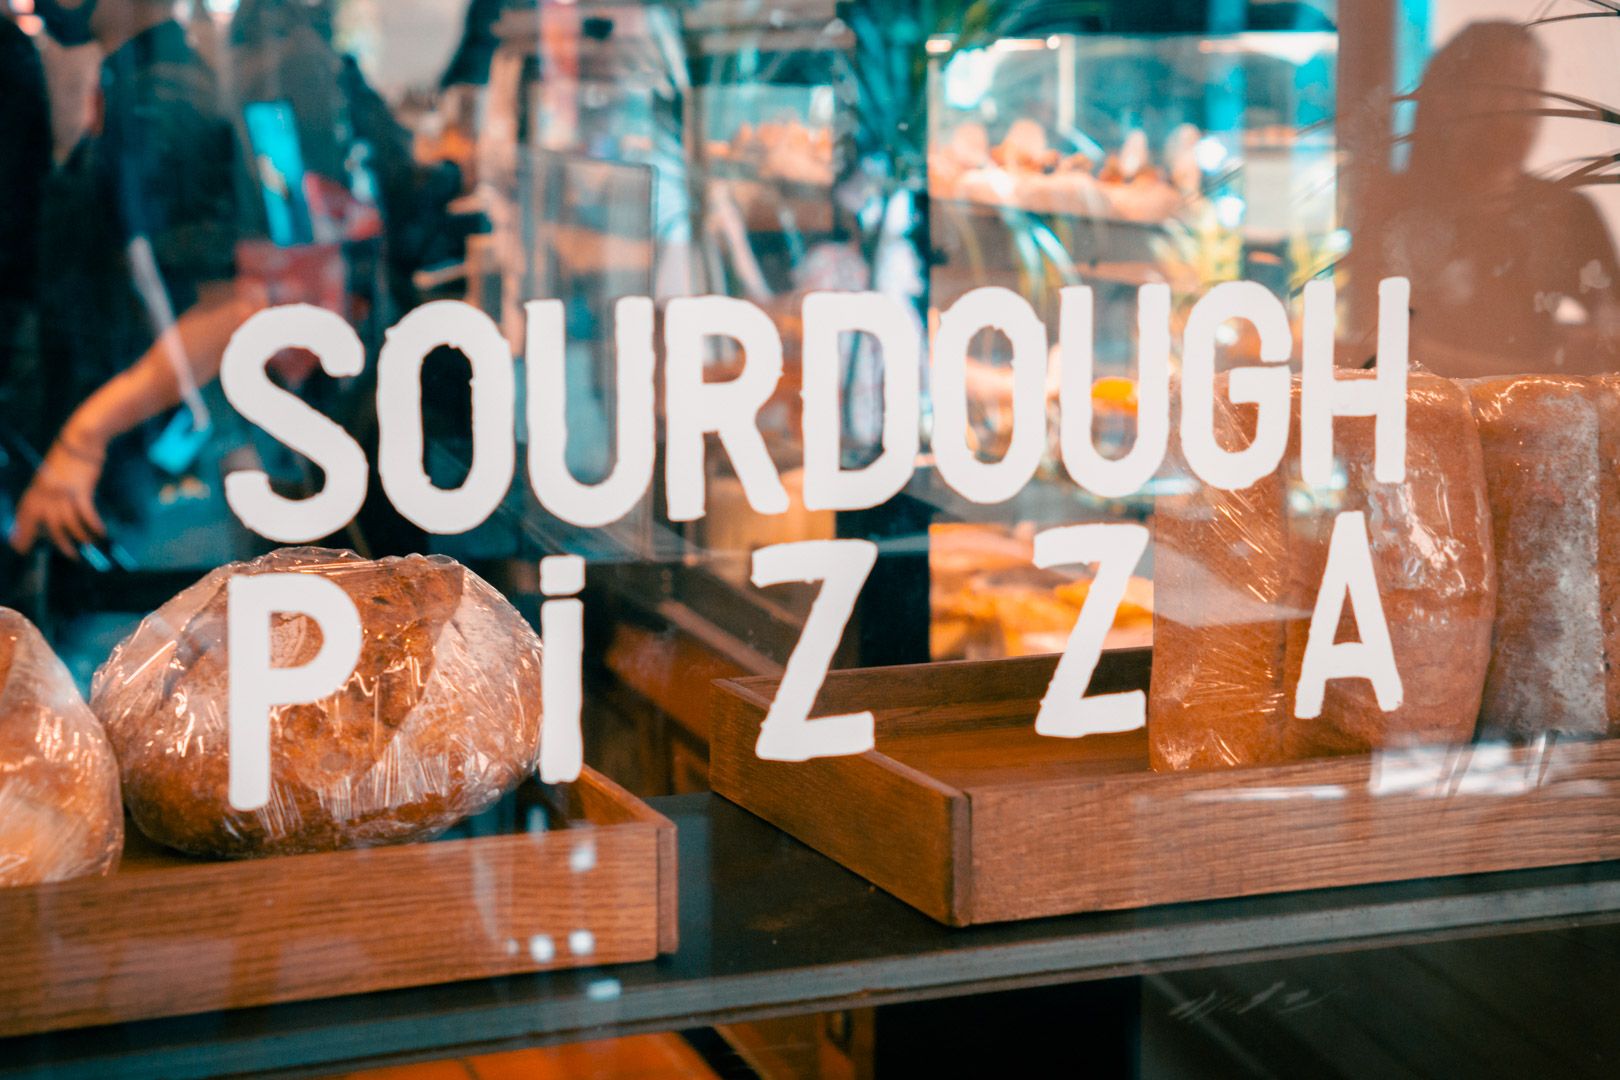
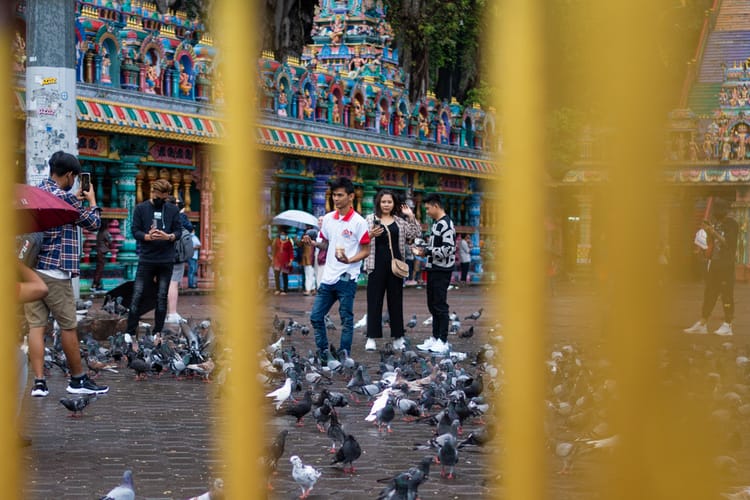
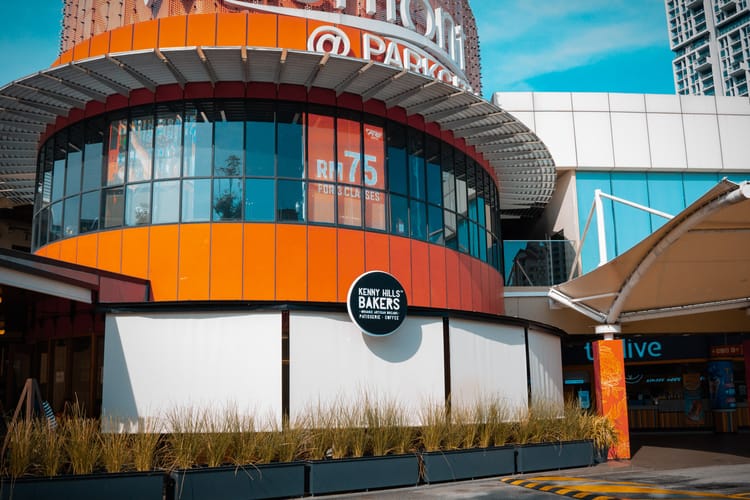
There is a downside to this. At least for preset, it doesn't really work all the time. Especially when there is a lack of blue colour in a photo, it look so weird. See below:
I guess when there is no complementing colour for such a strong colour, everything looks off.
Final Thoughts
It's incredible how I dismissed this panel, mostly because the word "calibration". I calibrated my monitor screen once – to match the colour with my laptop screen. So I thought the same would apply here, only to be touched if I wanted to "calibrate" something. I was wrong.
Calibration is great but it's not a fix-all solution. It is another tool in the toolbox. Understanding how it works helps us become better and more efficient in getting the result that we want.
There's definitely more use to just this colour scheme for this tool. I'll be experimenting more on this and see what outcome I get.
Put out.
Member discussion